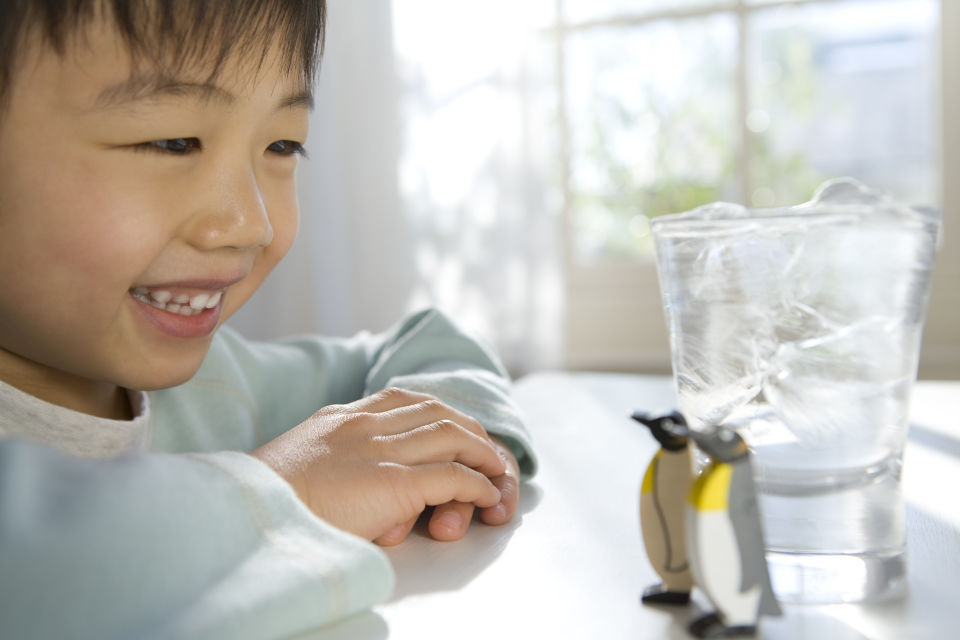
Who doesn’t want to be a scientist? Ice is an easy, fun object to use for a science experiment with your preschooler. How does ice melt? How does it break it into pieces? There is so much to learn from a small cube of water.

Ice cubes
Salt
Cup or bowl
Water
Fork or spoon
Put a few ice cubes in front of your child. Be sure you’re set up in a space that’s safe for water splashes – and that you and your child don’t mind getting a little wet!
Let your child hold and feel the ice cubes. Ask your child what it looks, feels, smells, tastes like – describe the experience of your senses together.
Talk about what happens to your hands after you held the ice cubes. How do they feel?
Try different ways to melt the ice cubes. Have your preschooler draw pictures of the different ways they try to melt the ice cubes. Discuss what happens with each way too. Here are some different methods to try:
Put salt on the ice cube.
Roll the ice cube around in a cup or bowl.
Squeeze the ice cube in your hands.
Pour water on the ice cube – try different (safe) temperatures of water too!
Use a fork or spoon to break the ice into smaller pieces, then try the same ways to get the pieces to melt.
Talk about which method melted the ice the fastest, which was the easiest, and which was the most fun to watch.
This activity helps your child develop sensory, motor, language, cognitive, and early math skills.


